Learn how to make perfectly juicy chicken breasts with this easy chicken recipe. Master 6 foolproof cooking methods that guarantee tender, flavorful results every time.
Every home cook has faced the problem of dry, tough chicken. My first try at cooking chicken was a disaster. It was so tough and tasteless, even the dog wouldn’t eat it. This experience made me determined to learn how to cook juicy chicken.
Chicken breasts can be challenging, but with the right techniques, they become a delicious main dish. Whether it’s for family dinner or a special occasion, learning these methods will make you a better cook. It will impress everyone at the table.
This guide will show you six easy ways to make sure your chicken breasts are always tender and flavorful. You’ll learn how to choose the best ingredients and how to cook them perfectly. Soon, you’ll be a pro at preparing chicken.
Key Takeaways
- Understand the importance of proper chicken preparation
- Learn multiple cooking techniques for juicy results
- Discover how temperature impacts chicken texture
- Avoid common mistakes that lead to dry chicken
- Gain confidence in creating delicious poultry dishes
Understanding the Basics of Perfect Chicken Breasts
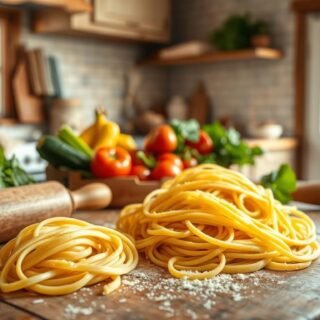
Learning to make easy chicken meals begins with the basics of cooking chicken breasts. Whether you’re cooking at home or dreaming of being a chef, the right techniques can make your dishes stand out. They can turn simple, healthy chicken recipes into something truly special.
Cooking chicken well is more than just tossing it in a pan. It’s about using quality ingredients, the right tools, and precise cooking methods.
Choosing Quality Chicken Breasts
When picking chicken breasts, remember these important points:
- Choose fresh, pink meat with no discoloration
- Pick organic or free-range chicken if you can
- Look for chicken that’s the same thickness for even cooking
- Avoid chicken with too much liquid in the package
Essential Kitchen Equipment
To make easy chicken meals, you’ll need some basic tools:
| Equipment | Purpose |
|---|---|
| Meat Thermometer | Ensures safe internal temperature |
| Sharp Chef’s Knife | Helps trim and portion chicken accurately |
| Heavy-Bottom Skillet | Provides even heat |
| Cutting Board | Safe place for prep work |
Temperature Control Basics
Keeping the right temperature is key for healthy chicken recipes that are both safe and tasty. Chicken must reach 165°F to kill bacteria and keep it moist.
Get a good meat thermometer for perfect results every time. Remember, cooking temperatures can change based on how you cook, so always check the internal temperature.
The Essential Brining Process
Brining is a key technique that makes chicken breasts juicy and full of flavor. It involves soaking chicken in a saltwater solution. This method boosts moisture and taste before cooking.
The science behind brining is straightforward. Salt breaks down chicken’s proteins, letting it hold more water while cooking. This keeps your chicken moist and flavorful, making meals more enjoyable.
Basic Brine Recipe Ingredients
- 4 cups cold water
- 1/4 cup kosher salt
- 2 tablespoons sugar (optional)
- Herbs and spices for flavor
When making your brine, remember brining times depend on chicken thickness. Thin breasts need 30 minutes to 1 hour. Thicker cuts can brine for 2-4 hours.
Try different flavors by adding herbs and spices to your brine. Fresh herbs like rosemary, thyme, or bay leaves can add complex flavors.
Pro tip: Always refrigerate chicken while brining to prevent bacterial growth and ensure food safety.
For the best results, rinse your chicken after brining and pat it dry. This removes excess salt and gets it ready for cooking, whether grilling, roasting, or pan-searing.
Best Chicken Recipe Preparation Methods
Preparing chicken breasts is key to making tasty meals. Your cooking methods greatly affect the taste and quality of your dishes. Proper preparation leads to even cooking, great flavor, and the right texture.
Learning to prepare chicken well can turn a simple meal into a special dish. Here are the main techniques to improve your chicken dishes.
Proper Thawing Techniques
Thawing chicken safely is important to keep it fresh and prevent bacteria. Here are the best ways to thaw:
- Refrigerator thawing (recommended method)
- Cold water thawing
- Microwave thawing for immediate cooking
Trimming and Portioning
Being precise with trimming and portioning helps with even cooking and looks great. Follow these tips:
- Remove excess fat and visible connective tissue
- Use sharp kitchen shears or a boning knife
- Aim for uniform portion sizes
Evening Out Thickness
Chicken breasts that are not even in thickness cook unevenly. Use these methods to make them even:
| Technique | Description | Best For |
|---|---|---|
| Butterflying | Cutting horizontally to create thinner pieces | Grilling, pan-searing |
| Pounding | Using a meat mallet to flatten chicken | Breading, quick cooking methods |
| Slicing | Cutting chicken into even medallions | Stir-fries, salads |
Pro tip: Always use plastic wrap when pounding chicken to prevent bacterial spread and keep your workspace clean.
By following these steps, you’ll make perfect chicken recipes every time. Each step is important for delicious, evenly cooked chicken that will wow your loved ones.
Seasoning and Marinade Options
Turning simple chicken into a dish to remember starts with seasoning and marinade. You need to pick the right mix of ingredients. This will make your meal go from basic to amazing.
Choosing the right seasoning can change how your meal tastes. Let’s look at some great options:
- Classic Salt and Pepper Blend
- Mediterranean Herb Mix
- Spicy Cajun Rub
- Asian-Inspired Seasoning
Marinades work by balancing three things:
- Oil: Spreads flavors and keeps meat moist
- Acid: Lemon juice, vinegar, or yogurt tenderizes
- Seasonings: Herbs, spices, and aromatics add depth
Marinate chicken for 30 minutes to 2 hours. Longer times can make meat too soft. Always keep it in the fridge to avoid bacteria.
« The secret to incredible chicken is not just in cooking, but in seasoning and marinating. » – Professional Chef
Whether you like dry rubs or wet marinades, the goal is to find flavors you love. Your chicken will be so grateful for the tasty treatment!
Perfect Temperature and Timing Guide
Mastering chicken cooking techniques is all about getting the temperature and timing right. Baked chicken recipes need careful attention to ensure it’s safe and juicy. Knowing the right oven settings and cooking time can make a big difference.
Getting the perfect chicken breast is more than just tossing it in the oven. Things like chicken thickness and oven calibration play a big role in your success.
Oven Temperature Settings
The best temperature for baking chicken breasts is between 375°F to 400°F. This range helps cook the chicken evenly and keeps it moist.
- Boneless chicken breasts: 375°F (190°C)
- Bone-in chicken breasts: 350°F (175°C)
- Thin-cut chicken breasts: 400°F (204°C)
Cooking Duration Guidelines
| Chicken Breast Type | Thickness | Cooking Time |
|---|---|---|
| Boneless, skinless | 1/2 inch | 15-18 minutes |
| Boneless, skinless | 1 inch | 20-25 minutes |
| Bone-in | 1-1.5 inches | 30-35 minutes |
Internal Temperature Goals
Your main goal is to reach an internal temperature of 165°F (74°C). Use a meat thermometer in the thickest part of the breast to check if it’s done.
« Cooking chicken is an art of precision – temperature is your paintbrush. » – Professional Chef
Pro tip for baked chicken recipes: Let the chicken rest for 5-10 minutes after cooking. This helps the juices spread, making it moist and tender.
Step-by-Step Cooking Process

Learning different cooking methods can boost your chicken recipe skills. It helps you make easy chicken meals that wow everyone. Each method adds unique flavors and textures, making your cooking more versatile.
Baking: Simple and Foolproof
Baking chicken is easy. Just preheat your oven to 375°F and follow these steps:
- Place chicken breasts in a lightly greased baking dish
- Season with herbs and spices
- Cover with foil to retain moisture
- Bake for 20-25 minutes until internal temperature reaches 165°F
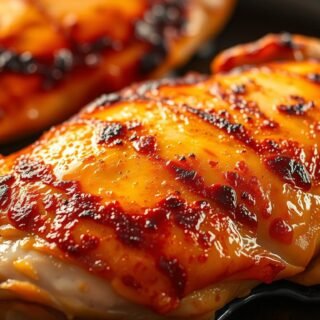
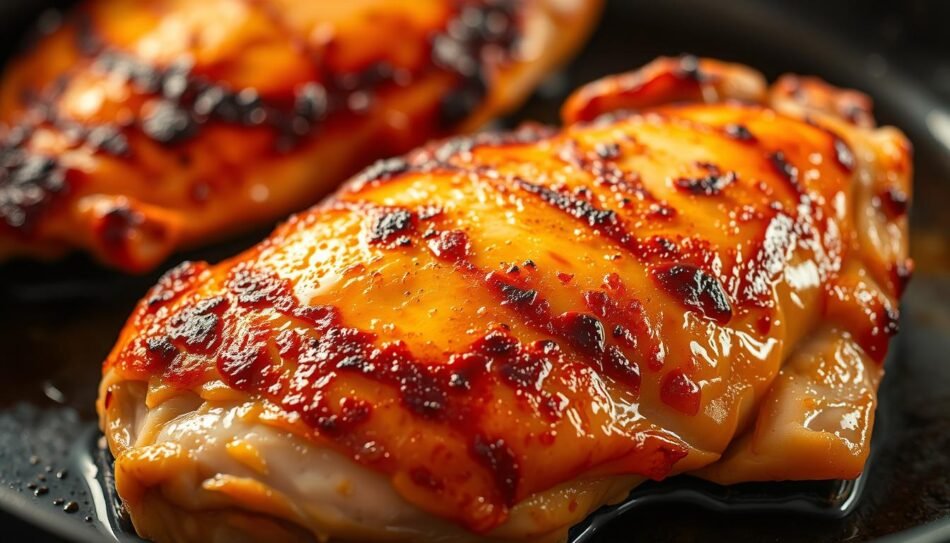
Pan-Searing: Quick and Flavorful
Pan-searing gives you a crispy outside and juicy inside. Start by heating a skillet with olive oil, then:
- Pat chicken dry with paper towels
- Season generously
- Cook 5-6 minutes per side
- Ensure golden-brown crust develops
Each cooking method highlights different qualities in your chicken. This makes it easy to create varied and delicious meals. Your family will love dinner even more.
Pro tip: Always use a meat thermometer to ensure perfect doneness and food safety!
Try these techniques to grow your cooking skills. You’ll find new favorite easy chicken meals that are both simple and delicious.
Testing for Doneness
Mastering chicken cooking techniques means knowing when your chicken is just right. It’s important to keep it safe and juicy. This way, your family will enjoy the healthy chicken recipes you make.
Using Meat Thermometers
A meat thermometer is your best friend for checking chicken. Stick it into the thickest part of the breast, away from bone or fat. The chicken is safe at 165°F (74°C).
- Choose a digital instant-read thermometer
- Clean the thermometer between uses
- Insert at a 45-degree angle for accurate reading
Visual Indicators
If you don’t have a thermometer, look for visual signs. Cooked chicken should be:
- White and opaque all over
- No pink or clear areas
- Clear juices when pierced
Texture Assessment
Texture also tells you if chicken is done. A cooked chicken breast should feel:
| Texture Indicator | Description |
|---|---|
| Firmness | Slightly firm, not hard or rubbery |
| Moisture | Juicy but not wet or dry |
| Consistency | Even throughout the meat |
Learning these skills will make your chicken dishes always a hit. They’ll be delicious and safe for your family to enjoy.
Resting and Serving Techniques

Learning how to rest and serve chicken can make your dishes amazing. After cooking your chicken breasts, being patient is key. It helps create juicy and flavorful chicken dinner ideas.
Resting your cooked chicken is key to keeping it moist and flavorful. It lets the juices spread evenly, making each bite tender. Chefs say to let your chicken rest for 5-10 minutes after cooking.
- Cover the chicken loosely with aluminum foil during resting
- Place the chicken on a cutting board or warm plate
- Avoid cutting immediately to prevent juice loss
To serve your chicken, cut it against the grain for extra tenderness. Use a sharp knife for clean cuts. This keeps the meat’s structure intact.
| Resting Time | Chicken Cut | Recommended Action |
|---|---|---|
| 5 minutes | Chicken Breast | Loosely tent with foil |
| 7-10 minutes | Whole Roasted Chicken | Let rest on cutting board |
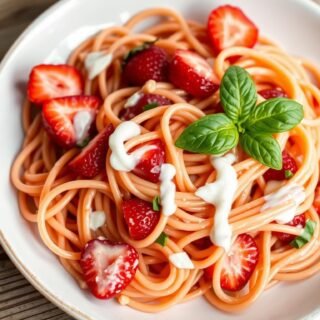
To make your chicken dinner ideas stand out, add fresh herbs or a light sauce. It boosts the flavor and looks of your perfectly cooked chicken.
Conclusion
Perfecting your chicken recipe takes patience, practice, and detail. You’ve learned key techniques to make chicken breasts moist and tasty. These skills will impress your loved ones.
Creating juicy chicken involves brining, seasoning, controlling temperature, and resting. These steps help avoid dryness and uneven cooking. Now, you’re ready to make delicious meals any time.
Cooking is a journey of learning. Try new marinades and cooking methods. Trust your instincts. Each dish you make will boost your confidence and skills.
Your kitchen is now ready for perfect chicken breasts. Enjoy the process and the tasty results of your cooking skills.